This post contains affiliate links. As an Amazon Associate, we earn from qualifying purchases.
To wash your Vans shoes, start by removing the laces and insoles. For canvas, gently brush off dirt, pre-treat stains, and clean with a mild detergent mixed with warm water. For suede, use a special brush and cleaner, and for leather, apply a cleaning gel and condition afterward. Always let them air dry naturally in a well-ventilated area. If you want tips on maintenance or know when to replace your shoes, keep going!
Key Takeaways
- Remove laces and insoles, then gently brush off loose dirt using a soft-bristled brush before cleaning.
- Pre-treat stubborn stains with a stain remover and let it sit for about 15 minutes.
- For canvas Vans, mix mild detergent with warm water to create a cleaning solution.
- Air dry your Vans naturally for up to 24 hours, avoiding direct sunlight and heat sources.
- Regularly maintain your Vans by using a brush to prevent dirt buildup and storing them properly.
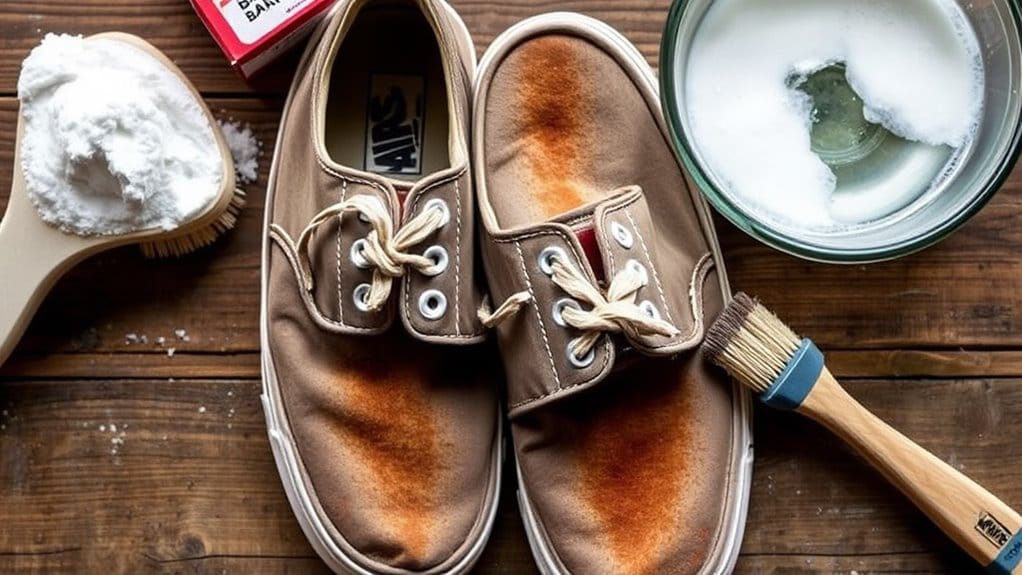
Preparing Your Vans for Cleaning
Before you plunge into cleaning your Vans, it’s important to prepare them properly to achieve the best results.
Start by removing laces and insoles; this guarantees a thorough clean and prevents damage.
Next, grab a soft-bristled brush to gently remove loose dirt and mud from the shoe’s surface. This step avoids grinding dirt further into the material.
If you notice any stubborn stains, consider pre-treating them with a stain remover, letting it sit for about 15 minutes.
Don’t forget to check the cleaning instructions on the care label, if available, for specific guidance.
Finally, prepare your cleaning area by covering surfaces with a towel or sheet to catch any dirt or cleaning product drips while you clean your Vans.
Cleaning Canvas Vans: Step-by-Step Guide
Before you start cleaning your canvas Vans, it’s important to prepare them properly.
Remove any loose dirt with a soft-bristled brush and treat stubborn stains before washing.
Once you’re ready, you’ll use effective techniques to guarantee your shoes look fresh and clean.
Pre-Cleaning Preparation Steps
To guarantee your Vans shoes get the best clean possible, start by removing the insoles and laces. This assures every part is thoroughly cleaned.
Next, brush off loose dirt and mud from the canvas using a soft-bristled shoe brush to prevent scratching during washing. For stubborn stains, pre-treat them by applying a stain remover directly to the affected area and let it sit for better effectiveness for about 15 minutes.
Prepare a cleaning solution by mixing mild detergent with warm water in a bowl, confirming it’s suitable for canvas materials.
Finally, gather a clean towel to blot excess water after washing, helping to prevent water damage and maintain the shoes’ shape while they air dry.
Effective Washing Techniques
Now that you’ve prepared your Vans shoes for cleaning, it’s time to tackle the washing process.
Start by using a soft-bristled shoe brush to remove any loose dirt, preventing scratches during cleaning. If you’ve got tough stains, pre-treat them with a stain remover for about 15 minutes to enhance cleaning effectiveness.
Next, hand wash your Vans in a bowl of warm water mixed with a mild detergent, using a toothbrush to scrub gently.
After cleaning, rinse your shoes with clean water and blot them with a towel to remove excess moisture.
Finally, air dry naturally, making sure to avoid direct sunlight to prevent color fading and maintain the integrity of the canvas material.
How to Clean Suede Vans Effectively

Since suede is a delicate material, cleaning your Vans effectively requires a gentle touch and the right techniques. Follow these steps to guarantee your shoes stay looking clean and white:
- Start by using a soft-bristled suede brush to gently remove loose dirt and grime, avoiding damaging the top.
- For light stains, mix equal parts water and white vinegar, and dab it onto the stain, blotting gently.
- For tough stains, apply a specialist suede cleaner with a toothbrush and let it soak in before scrubbing.
- Clean the rubber strips and bottoms with soap and water, using a magic eraser for scuff marks.
- Always air dry naturally, avoiding direct heat, and consider using a shoe tree to maintain their shape while drying.
Tips for Cleaning Leather Vans
Cleaning leather Vans requires a few straightforward steps to keep them looking sharp and lasting longer.
Start by removing surface grime with a synthetic brush before applying any cleaning products. Use Nikwax Footwear Cleaning Gel to effectively remove dirt while preserving the leather’s quality.
After cleaning, it’s essential to apply a waterproofing product to the leather and stitching to protect against moisture and stains.
Once you’ve treated your shoes, allow them to air dry naturally for 24 hours; avoid direct heat sources or sunlight to maintain their shape and texture.
To enhance durability and prevent cracking, regularly condition the leather with a suitable product.
Following these tips will keep your leather Vans in great condition.
Removing Stains From Your Vans
When stains hit your Vans, quick action can make all the difference.
Start with easy-to-use stain removers for tough spots, and don’t forget about special techniques for different materials like suede and leather.
With the right approach, you can keep your Vans looking fresh and clean.
Quick Stain Removal Tips
Tackling stains on your Vans can feel challenging, but with the right approach, you can lift them quickly and effectively.
Here are some quick clean tips to help you out:
- For canvas Vans, pre-treat tough stains with a stain remover for at least 15 minutes before washing.
- Blot dark stains on suede Vans using a damp cloth with equal parts water and white vinegar.
- Use a soft-bristled brush and a specialist suede cleaner for stubborn suede stains; scrub gently.
- For leather Vans, apply a leather cleaner with a synthetic brush, then use a damp cloth to wipe away any residue.
- To clean white rubber strips, use white vinegar or lemon juice with a soft-bristled brush, scrubbing in circular motions.
Deep Cleaning Techniques
Although your Vans might look worn out after countless adventures, deep cleaning them can revive their original charm.
For canvas Vans, pre-treat tough stains with a stain remover for 15 minutes, then hand wash with warm water and mild detergent.
If you’ve got suede Vans, use a specialized suede cleaner and a soft-bristled brush, applying it gently to avoid damage.
For leather Vans, apply Nikwax Footwear Cleaning Gel with a synthetic brush, then follow up with a waterproofing product.
Don’t forget to deep clean the rubber strips using white vinegar, buffing in circular motions with a soft-bristled brush.
Finally, always air dry your Vans naturally for up to 24 hours to maintain their shape and prevent odors.
Cleaning the White Rubber Strip
To keep your Vans looking fresh, cleaning the white rubber strip is essential. Here’s how to do it effectively:
- Cover your work surface with a towel to protect it from cleaning products.
- Use masking tape to shield the shoe material from any solutions.
- Choose an effective cleaning product like white vinegar, lemon juice, or Vans foaming cleaner.
- Gently buff the rubber strip in circular motions with a soft-bristled brush to tackle stains and dirt.
- After cleaning, wipe the rubber strip with a clean, damp cloth to remove any residue.
Washing Laces and Insoles Separately

When it comes to keeping your Vans in top shape, washing the laces and insoles separately is an essential step you shouldn’t overlook.
Start by removing the laces and insoles from your shoes to guarantee a thorough clean without damaging the material. Soak the laces in warm water mixed with mild detergent for about 15-20 minutes to effectively remove dirt and odors.
For the insoles, create a paste with baking soda and mild detergent, then gently scrub them before rinsing with a damp cloth to eliminate excess cleaner.
After cleaning, let both the laces and insoles air dry completely to prevent mold and odors. Regular cleaning of these components can markedly extend the lifespan of your Vans.
Air Drying Your Vans Properly
After washing your Vans, it’s essential to air dry them in a well-ventilated space.
Avoid direct sunlight to prevent discoloration and damage to the material.
To maintain their shape, stuff the shoes with clean towels as they dry.
Optimal Drying Environment
Air drying your Vans is essential for maintaining their quality and preventing unwanted odors or mold. To create the ideal drying environment, follow these tips:
- Use towels: Stuff your Vans with towels to absorb excess moisture and help them maintain their shape.
- Choose a well-ventilated area: This promotes airflow, speeding up the drying process and reducing dampness.
- Avoid direct sunlight: Protect your shoes from fading and warping, especially if they’re colored or patterned.
- Don’t use a dryer or heat source: High temperatures can damage materials and compromise the integrity of your shoes.
- Allow up to 24 hours: Be patient, as complete dryness takes time, ensuring your Vans stay fresh and odor-free.
Avoid Direct Sunlight
To keep your Vans looking fresh and vibrant, it’s essential to avoid direct sunlight while they dry. Prolonged exposure can lead to fading, especially for canvas or suede materials.
Instead, air dry your shoes in a well-ventilated area, ensuring they’re free from moisture. To help maintain their shape and avoid warping, stuff your Vans with towels during the drying process; this will also absorb excess moisture.
Remember, air drying may take up to 24 hours, so choose a dry location to prevent mold and odors from developing.
Avoid using heat sources like radiators or hairdryers, as these can damage the materials, leading to cracks or shrinkage.
Protect your Vans, and they’ll stay vibrant longer!
Maintaining Shoe Shape
While you might be tempted to rush the drying process, maintaining the shape of your Vans requires patience and proper technique. To guarantee your shoes retain their structure and prevent damage, follow these tips for air drying:
- Always air dry your Vans naturally for at least 24 hours.
- Stuff your cleaned Vans with towels or paper to absorb moisture.
- Avoid using a dryer, as heat can warp the material.
- If your Vans are suede or leather, use a shoe tree for added support.
- Regular air drying helps prevent odors and extends the lifespan of your shoes.
Regular Maintenance for Longevity
Maintaining your Vans shoes is essential for ensuring they last as long as possible. Regular maintenance starts with using a soft-bristled shoe brush to prevent dirt buildup and keep them looking fresh.
Store your Vans in a cool, dry place, away from direct sunlight, to help preserve their shape and color. Applying a protective spray or cream designed for the specific material enhances stain resistance and water protection.
Don’t forget to inspect the soles and stitching regularly for wear and tear, addressing any issues promptly to extend their lifespan.
For added freshness, sprinkle baking soda inside your Vans overnight to absorb odors, keeping them smelling clean and new.
Taking these simple steps can greatly improve your shoes’ longevity.
When Cleaning Isn’t Enough: Knowing When to Replace
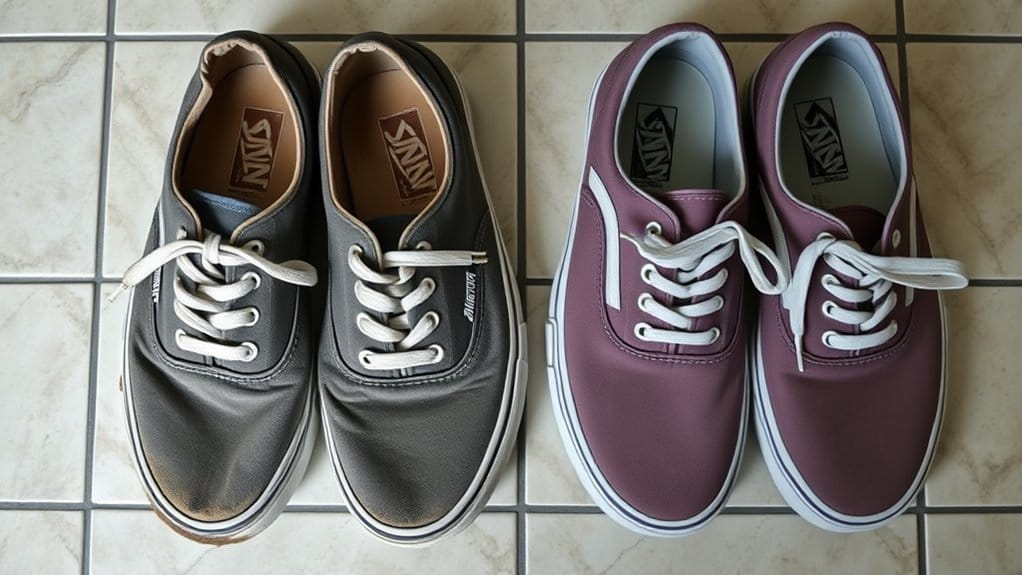
Even with regular maintenance, there comes a time when cleaning just won’t cut it anymore.
You need to recognize when it’s time to replace your Vans. Look out for these signs:
- Visible damage like large holes or tears that can’t be fixed.
- Significant wear on the soles, leading to poor traction.
- Persistent odors that linger despite thorough cleaning, indicating irreparable damage.
- A lost shape where the shoes no longer support your feet properly.
- An uncomfortable fit that makes wearing them unenjoyable.
When you notice any of these issues, it’s best to invest in a new pair.
Continuing to wear worn-out shoes can lead to discomfort and even foot problems.
Don’t hesitate—replace them!
Conclusion
In summary, keeping your Vans clean and well-maintained is key to prolonging their life. By following the steps for each material type and addressing stains promptly, you can keep your kicks looking fresh. Don’t forget to wash the laces and insoles separately for a thorough clean. If your shoes start showing serious wear, it might be time to contemplate a replacement. With a little care, your Vans can stay stylish and comfortable for a long time!